用GPT Image 2生图,很多创作者会遇到同一个问题:图出来了,细看不干净。画面发灰、暗部脏污、随机噪点、纹理杂乱,叠加高清关键词也压不住。本文讲清脏糊的真正成因,给出提示词避坑方案、细节分布控制思路、可直接复制的生成与局部编辑提示词,最后补一套后期定点修图的实操流程。
一、画面发脏发糊的核心原因
图片不干净,多数不是分辨率不够,而是缺少明确约束,模型在不确定的区域自己补了太多东西。
只写省事的模糊形容词,比如高级、震撼、未来感、精致,模型就会自行叠加光效、粒子、数据流、假UI、金属纹理、雾气、反光。元素堆得越多,画面越热闹,也越容易脏。
想拿到干净画面,第一步是减少模型自由发挥的空间,把这几项说清楚:
1、主体是什么。
2、背景要不要复杂。
3、光源从哪个方向来。
4、哪些区域需要精细。
5、哪些区域必须保持干净。
6、明确禁止出现什么。
二、提示词避坑:慎用大片感堆叠词汇
脏图的源头之一,是提示词里塞了太多氛围词汇。
cinematic lighting、volumetric fog、glowing particles、complex texture这类词本身没错,它们会把画面推成强对比、重氛围、多颗粒的方向,适合电影海报、游戏概念图、奇幻场景。
但用在公众号封面、科普插图、产品解释图上,副作用就出来了:整体发灰、暗部变脏、边缘发糊、背景噪点增加。
这类配图更适合克制的关键词:
clean editorial illustration、clear composition、soft diffused lighting、minimal background、smooth surfaces、low visual noise、high readability
知识类文章的图任务不是炫技,而是让读者一眼看懂在讲什么。画面越干净,信息越容易被接收。
三、精细化控制:不要全图堆细节
为了显得精细,很多人会叠加ultra detailed、rich details这类描述,结果图确实变细了,细在错的地方:衣服多出奇怪纹路,背景凭空长出小物件,科技图里全是假按钮假图标,桌面、墙面、天空、地板到处都忙。
这不是精细,是失控。
正确做法是分区控制细节:
1、主体保留精准、丰富的细节。
2、背景保持简洁、低噪。
3、次要元素简化,不与主体抢注意力。
4、以清晰表达优先,拒绝多余装饰。
科普插图重点在模型结构、芯片、知识网络;产品图重点在边缘、材质、高光、阴影;人物图重点在脸、眼睛、服装轮廓、姿态。背景只负责提供空间感。

这也是GPT Image 2更适合迭代工作流的原因:分步告诉它保留什么、强化什么、减少什么,比一次性抽卡更可控。
四、局部编辑实操:定点修复,不整张重绘
图已经基本满意,只是局部有瑕疵时,不要直接丢一句帮我降噪、变高清。指令太宽泛,模型可能重画一张,也可能过度锐化、改掉原有风格。
规则只有一条:哪里坏,修哪里。每次编辑都写清保留项:主体、构图、姿态、配色、画风固定不变;只改选中区域;不新增文字、水印、物体。
通用局部编辑提示词
Edit this image to make it cleaner, sharper, and more suitable for publication. Keep the original subject, composition, pose, color palette, and overall style unchanged. Clean up background noise, remove random speckles, reduce dirty textures, smooth muddy shadows, soften harsh glow, remove excessive particles, and improve edge clarity. Make the lighting more balanced and natural. Preserve important details on the main subject, but simplify unnecessary background texture. Do not redraw the whole image. Do not change the identity, expression, clothing, main objects, composition, or camera angle. No new text, no watermark, no logo.手部出错提示词
Edit only the hands. Keep the rest of the image unchanged. Make the hands anatomically natural, with correct finger count, realistic joints, and clean edges. Do not alter the face, pose, clothing, background, or lighting.脸部脏污提示词
Edit only the face area. Keep the identity, expression, pose, hairstyle, clothing, and background unchanged. Clean up facial noise, improve skin texture naturally, sharpen the eyes slightly, and keep the result realistic. Do not beautify excessively.背景杂乱提示词
Edit only the background. Keep the main subject unchanged. Simplify the background, reduce clutter, remove random objects, smooth noisy textures, and keep a clean editorial look.干净配图生成提示词
Create a clean, refined, publication-ready editorial illustration about [主题]. The main subject is [主体], clearly recognizable and placed as the visual focus. Use a modern scientific explainer style with a white or very light background, refined colorful palette, soft diffused lighting, subtle depth, elegant spacing, and high visual readability. The main subject should have precise and refined details, including clean edges, smooth surface transitions, controlled highlights, and clear structural forms. Keep the background minimal and low-noise. Supporting elements should be simple, organized, and secondary to the main subject. Avoid excessive decoration. Emphasize clarity, order, and conceptual understanding rather than visual spectacle. Negative constraints: No grain, no dirty texture, no muddy shadows, no random speckles, no messy background, no excessive particles, no harsh glow, no neon cyberpunk style, no dark fantasy mood, no overexposed highlights, no distorted objects, no readable text, no watermark, no logo.脏图修复提示词
Edit this image to make it cleaner, sharper, and more suitable for publication. Keep the original subject, composition, pose, color palette, and overall style unchanged. Clean up background noise, remove random speckles, reduce dirty textures, smooth muddy shadows, soften harsh glow, remove excessive particles, and improve edge clarity. Make the lighting more balanced and natural. Preserve important details on the main subject, but simplify unnecessary background texture. Do not redraw the whole image. Do not change the identity, expression, clothing, main objects, composition, or camera angle. No new text, no watermark, no logo.
五、StartAI Banana修图实操教程
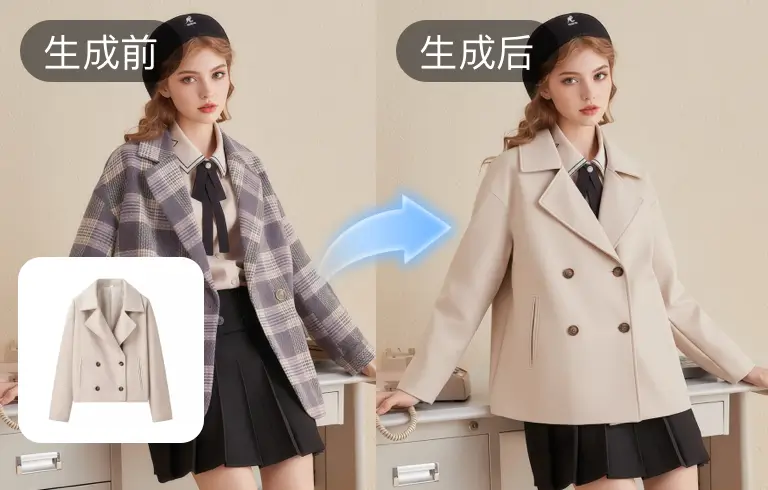
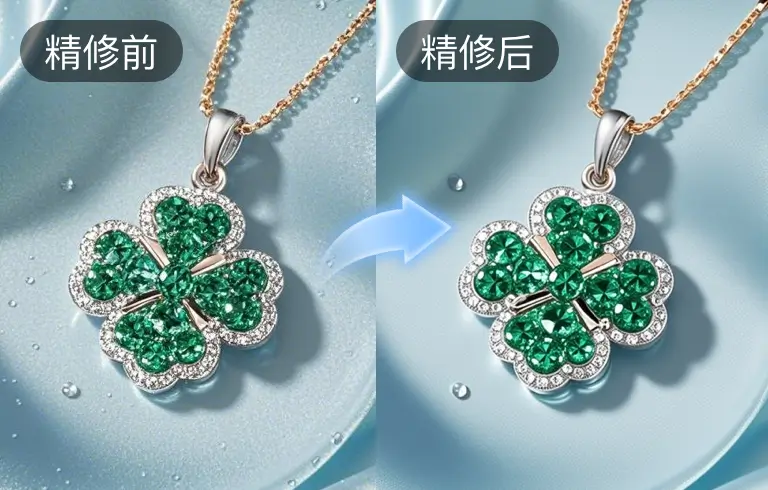
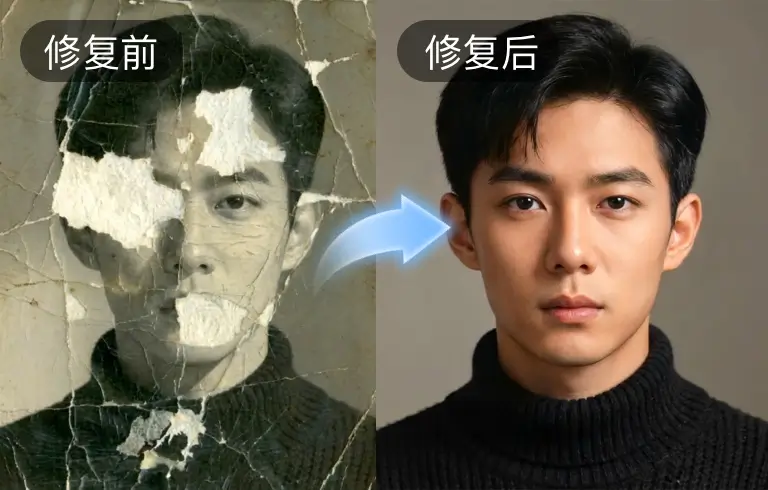
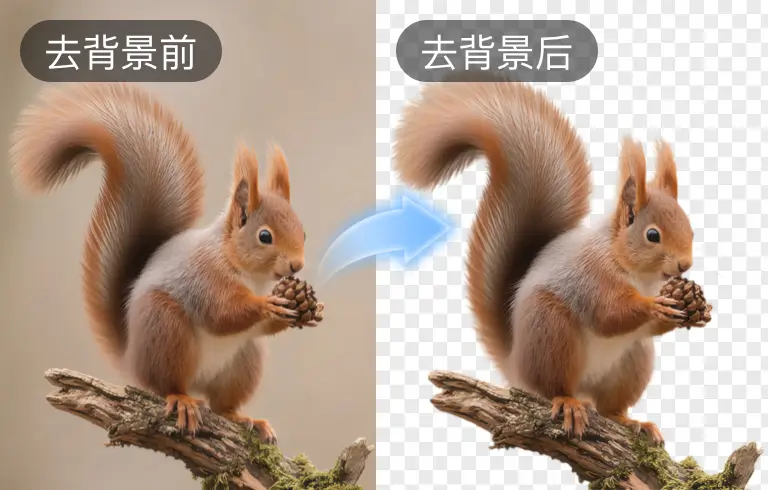
GPT Image 2完成生成和初轮编辑后,如果还残留细碎噪点、阴影断层、边缘脏斑,可以导入PS,用StartAI的Banana修图定点收尾,不必重跑整张图。
适用场景
局部噪点清理、脏阴影平滑、边缘杂色去除、材质纹理统一、多余斑点清除,同时保留原图构图与主体不变。
操作步骤
1、PS打开存在噪点、颗粒感、画面发脏的AI生成图;
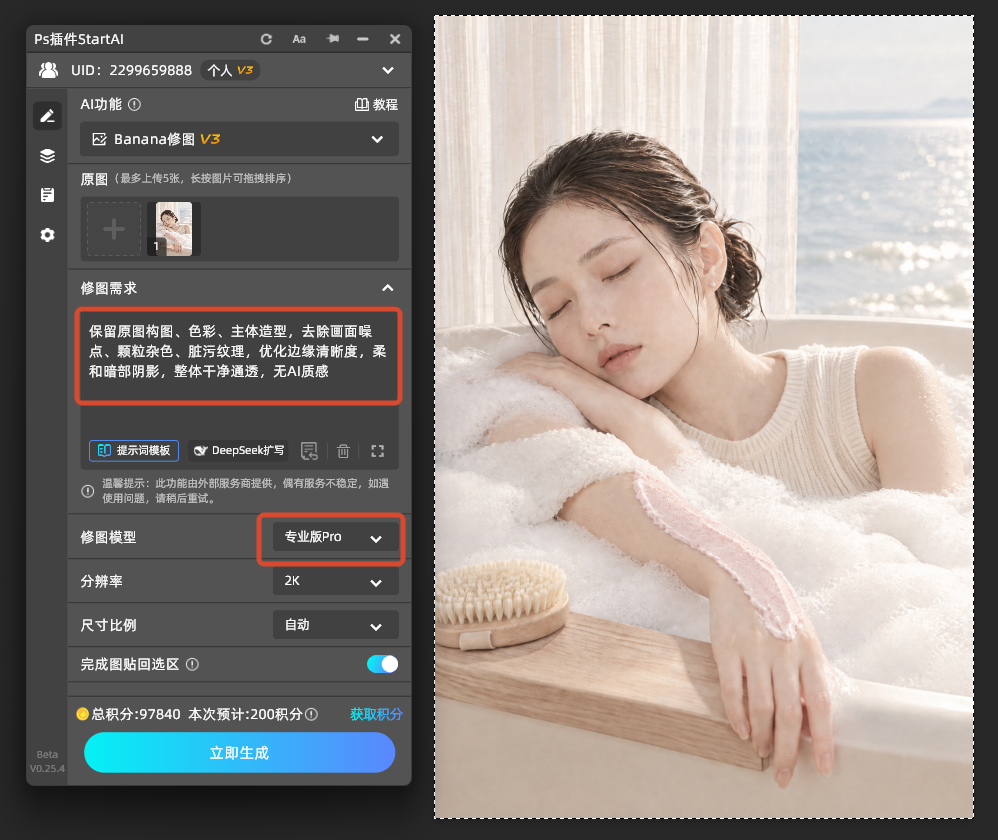
2、启动StartAI插件,打开【Banana修图】功能;
3、粘贴专属去噪提示词,精准约束画面质感;
保留原图构图、色彩、主体造型,去除画面噪点、颗粒杂色、脏污纹理,优化边缘清晰度,柔和暗部阴影,整体干净通透,无AI质感4、模型选择专业版Pro,其他参数按自身需求设置一下,点击立即生成;
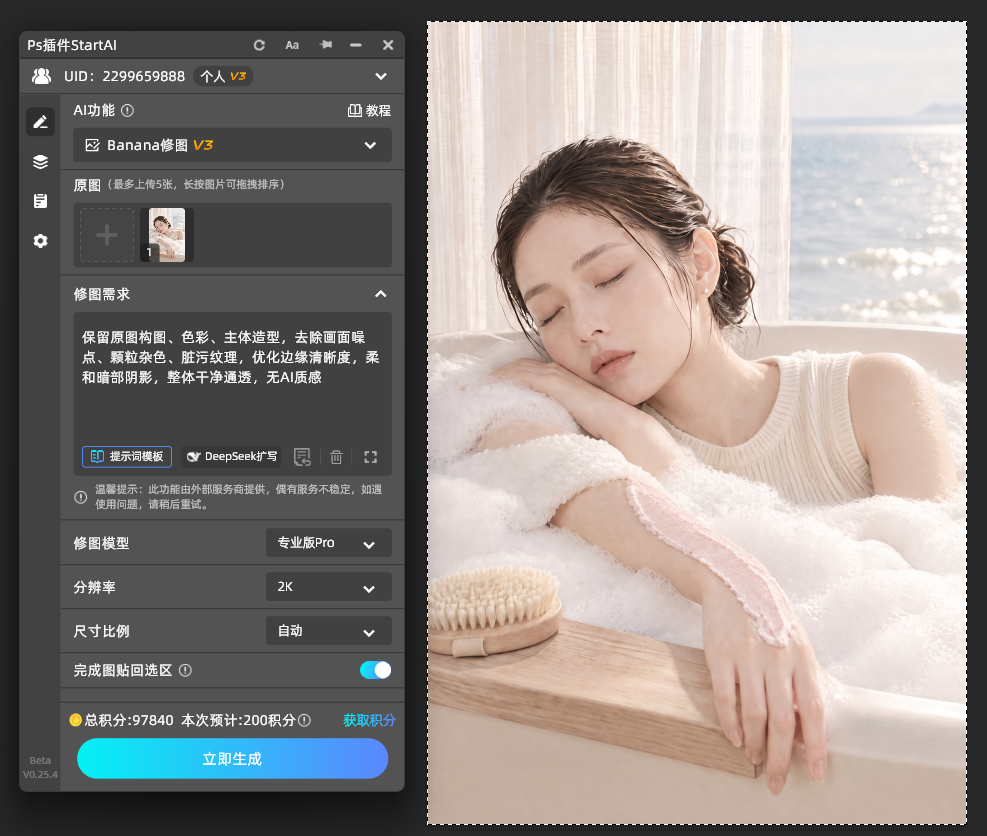
5、等待数秒,自动去除画面杂色噪点、弱化颗粒脏污,保留真实材质纹理,避免过度磨皮失真。
实操要点
1、画布比例与原图一致,防止透视跑偏。
2、画质参数对齐原图,不要拉高,避免画风改变。
3、选区越小,改动其他元素的概率越低。
六、常见问题及解决方法
画面始终发灰发脏?
补上否定约束,明确禁止颗粒、杂斑、过量光效,同时把主体与背景的细节权限分开写。
编辑之后主体走样?
提示词开头先锁构图、主体、配色,再写要改的部分,只限定局部区域。
降噪之后质感全丢?
不要全图降噪,优先单独处理背景和暗部,主体细节保留不动。
改动总是超出预期?
缩小单次修改范围,把一次大改拆成几轮小改,逐轮核对。
七、总结
GPT Image 2并不是自动审美机器。你让它自由发挥,它就给你更多光效、更多纹理、更多细节,叠在一起就显脏。真正有效的三件事:主体说清楚,细节有边界,修图要克制。
一张图从AI味很重变成可以发布,靠的不是更夸张的提示词,而是更明确的约束:让它知道哪里该画,哪里不该画。局部问题用局部编辑处理,最后再借后期工具清理残留噪点,比整张反复重绘更稳。
立即使用StartAI:【点此一键下载StartAI插件】;
邀请码:【mKU7jz】,立领100积分,基础功能免费用!